Installing Add-Ins
Installing Add-Ins
Importer and Exporter are designed to do their work based on the folder in which the config.dmicfg / config.dmecfg file is located. That is considered the "base" folder for that import or export. Add-Ins are installed in the "_Addins" folder just under the base folder. Anything in this folder will be loaded as an Add-In (if possible).
If you have a compiled Add-in file (DLL file) then all you need to do is drop it into the _Addins folder and it will be loaded the next time Importer or Exporter runs. You can also create folders under the _Addins folder that can hold the Add-Ins. This is useful for keeping things organized and for making sure the Add-Ins execute in the proper order.
Cloud Add-Ins
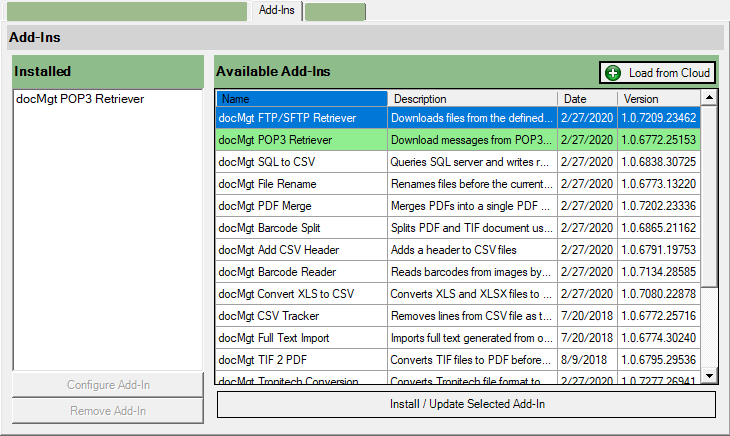
If you are installing an Add-In from the cloud then you can can click the "Load from Cloud" button to see the list of available Add-Ins. Once you find the Add-In you wish to install, double-click it in the list. This will copy the proper files for the selected Add-In from the cloud to the local _Addins folder. Each cloud-installed Add-In is installed into its own sub-folder under the _Addins folder. The folders are named to ensure they operate in the proper order compared to all other cloud Add-Ins. If you have self-installed Add-Ins, be sure they are named properly to ensure they operate in the correct order.
Order of Execution
Add-Ins will be executed in the order they are loaded. They are loaded in alphabetical order first by folder name (main "_Addins" folder first) and then by DLL name. To ensure the Add-Ins execute in the proper order, name the DLLs and folders in such as way as the ones that need to execute first have a higher named order than the ones that execute next.
Usually it is not an issue with their order as they execute when the event they are listening for is triggered. However, if you have 2 Add-Ins that are listening to the same event you may (and probably do) want them to execute in a specific order. That is when you need to worry about the naming.