Standard Entry
If you select the Standard Entry option then you will be presented with a blank pop up data entry screen. Here you can use the PLUS (Add Data Element) button to add rows to the data grid. In these rows you can add your own Field Names and Field Values that will make up the data elements of the new record. You can also remove entries you do not want by using the delete icon in each row.
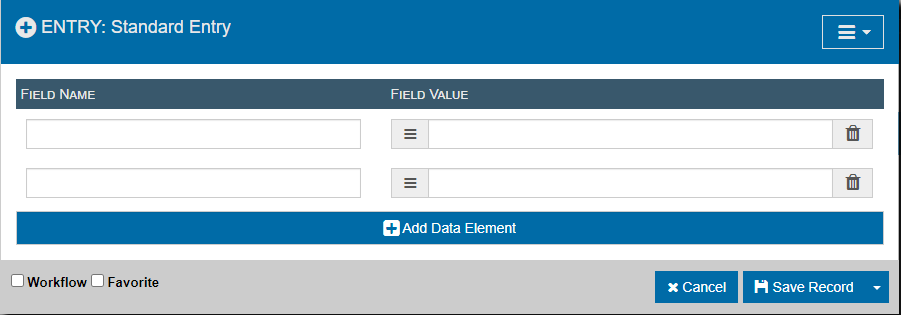
When you are done adding data elements you can then either cancel (which will stop anything from happening) or you can click "Save Record" to make a new record with the data that was entered.There is a drop down next to "Save Record" that shows another options which is "Save and Add Another Record." This will save the Record and leave the entry screen open to allow you to add another Record immediately. "Save Record" will save the Record and take you to the Record screen.
If you use the Start Workflow check box then workflow will be triggered for the new Record and if any steps are triggered for this Record then you will be taken to the Workflow screen instead of the Record screen.
If you use the Favorite check box then the new Record will automatically be added to your Favorites list once it is saved.