Add-Ins
Add-Ins are custom modules that are used to perform actions that Importer cannot do itself. They are a great way to add functionality like converting files before upload, preprocessing index values, doing database lookups and more.
Any Add-Ins that are loaded that can be configured will show up in the list. You can double-click the name of the add-in or you can click select the add-in in the list and click the "Configure Add-In" button to configure that particular add-in. Each add-in is unique so they will all have their own instructions on how to configure them.
Click the "Remove Add-In" button to remove that Add-In from the configuration.
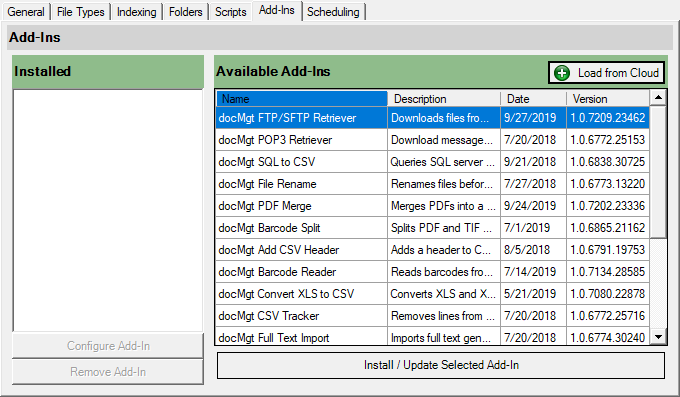
Cloud Add-Ins: Use the "Load from Cloud" button to show a list of Add-Ins available. Double-click the Add-In you wish to install and it will install it for you.
NOTE: Add-Ins are loaded any time the Importer runs - even when only configuring. Their code is only called when specific events happen in the Import / Configuration sequence.
Add-Ins Order of Execution
IMPORTANT: Add-Ins are executed in alphabetical order. You can control the order of execution of the Add-Ins by naming their files or folders. The simplest way to control the order is to make a folder for each Add-In. Importer will check the “_Addins” folder (and all sub-folders) to ensure Add-Ins are executed in the desired order.
For a list of available Cloud Add-Ins, their uses and instructions, click here.