User Buttons
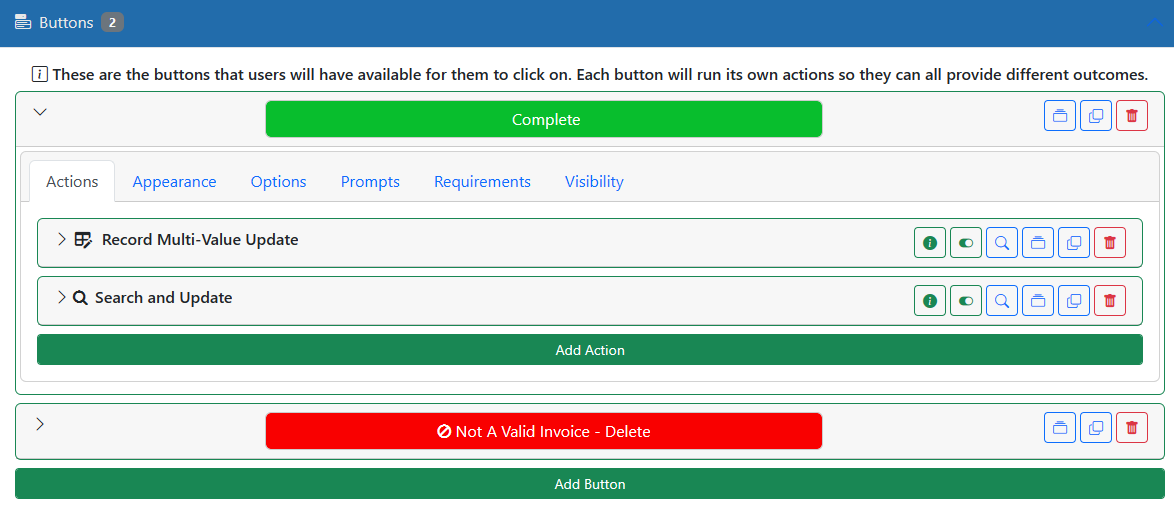
The User Buttons section is used to define the buttons that the user has available to them for this work trigger. When the user is done with their work they can be given one or more buttons they can click for options as to what to do with the record next. Initially the screen shows just a set of buttons stacked on top one another. When you click one of the buttons however it will open up the settings for that button which are described below.
In the above example we have given the user one button named "Done". When the user is done processing the record they would click the Done button. The single action we have defined is to add/update the "Status" value to the value of "DONE".
The [DEL] key word can be used in the Value field to indicate that the data element named should be removed. The [USERNAME] key word is used to signify the user name. The available variable replacement values are available on the right side of the screen using the HELP button.
Actions
The system takes actions in response to button clicks. These actions are outlined in the Work Trigger Action Types section.
Options
Default Complete
Check this to make this option the SUCCESS or COMPLETE option for automated processing tasks. If the task completes successfully this option will be executed. This is ONLY required for automated work triggers.
Default Reject
Check this to make this option the FAILURE or REJECT option for automated processing tasks. If the task cannot complete or has errors this option will be executed. This is ONLY required for automated work triggers.
Advance Workflow
Check this to have button advance the workflow when clicked. If turned off then this button will perform its actions but will not move workflow.
Prompt For Notes
Check this to prompt users for notes when the button is clicked from the Indexing and Record screen, This option also allows for prompting for data values.
Fast Lane
Check this to allow the user to perform this button action directly from the Workflow Console. Be careful as this will bypass any note prompts as well.
Skip Field Checks
Check this to allow the user to use this action without having to fill in required fields. It also allows the user to skip balancing field values in the Indexing Screen.
Refresh Screen
Check this to automatically save the current Record before executing the button actions. This is only performed in the standard web interface and not through any automated processes.
Save Record
Check this to automatically save the current Record before executing the button actions. This is only performed in the standard web interface and not through any automated processes.
Portal Show
If this work trigger is being shown in a Collaboration Portal, use this option to specify whether/when to show this button.
Complete Action
If this button is being used in Indexing Automation then you can override the default behavior of the IA screens with this setting.
Batch Processing
If you wish the users to be sent to the next indexing item for a specific batch then add field name(s) that represent the batch marker(s). This works in conjunction with the 'Get Next Item' option and only within the Indexing screen.
Style
Icon
The icon that is shown on the button itself. This is also used as the only visible button element in the hovering workflow panel in the Record screen so be sure this icon makes as much sense as possible to the end users.
Background Color
Select the button's background color here. This color will be used anywhere the button shows in the system.
Text Color
Select the button's text color here. This color will be used anywhere the button shows in the system.
Requirements
You can also add conditions to the button. These conditions must be met for the process to continue. You can also add user messages to the conditions so if a condition is not met the system can display the reason to the user. This is useful for instances where you cannot know ahead of time whether the process is ready such as external system verifications. If DocMgt knows ahead of time then it would be better to use the Visibility settings below to hide the button until the conditions are met.
The condition types and uses are outlined in the Work Trigger Action Execution Rules section.
Visibility
You can also specify when you wish the button to be visible. By default he button is always shown. However, you can use the Visibility tab to specify what conditions must be met in order to show the button. If the conditions are met then the button is shown. If not then the button is hidden.
For instance, you could have a button that is only shown when the status is 'PENDING'. In this example if the status were anything else the button would not be shown.