E-Form Fields
In order to build forms you must add fields by dragging and dropping them from the field list on the left of the screen onto the form in the middle of the screen.
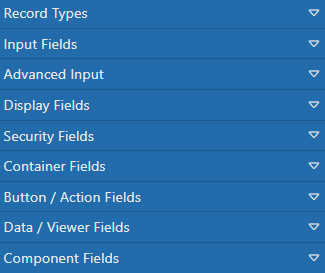
The field list is broken up into several sections:
- Record Types - Each Record Type in the system is show in this section of the designer. Each field is available to be dropped onto your form. It is usually best to set up your Record Type before designing forms.
- Input Fields - The standard input fields such as Text, Numeric, Date, Drop Down and more are available in this section.
- Advanced Input Fields - The more advanced input fields such as Linked, Color Picker, Sketch Pad and more are available in this section.
- Display Fields - This includes Labels, Bar Codes, Images, Hyperlinks, Lines and more.
- Security Fields - This includes Password fields as well as signature fields.
- Containers/Tables - This includes fields that contain other fields such as Panels, Columns, Tabs and more. It also includes tables that allow for tabular entry such as in invoices, time sheets, etc.
- Button/Action Fields - This includes action fields such as Buttons, Toolbars, and more.
- Data/Viewer Fields - This includes fields for displaying data such as Search Results, Document Viewer, Charts and more.
- Component Fields - This includes pre-programmed or bundled fields such as Email, Phone, States, Time Sheet Tables, etc.
- Custom Fields - You can save any field in your forms as a "custom" field. This is common for creating fields that you want to use over and over again.
Special Actions
There are several actions available to you in the properties section when you have a field selected.

The actions are on the field title bar and are:
- Save as Custom Field - Create a reusable template form the current field. This will add the field as a template that can be used in other forms. The template will show up in the "Custom Fields" section of the toolbox.
- Paste - Paste the last copied field into the current page. You must have first copied or cut another field before this action shows up.
- Cut - Delete the field from its current location and place it into the paste buffer to be pasted elsewhere.
- Copy - Copy the selected field so it can be pasted into this or another page/e-form.
- Duplicate - Make a duplicate copy of the selected field right next to the selected field
- Delete - Delete the selected field